There might be different reasons why you want to unroot your device. Maybe you want to reclaim your phone’s warranty or want to avoid the risks associated with rooting, etc. But, unrooting Android is never an easy process. You need to install proper apps to unroot your device.
Unroot Any Android Device In Single Click
So, in this article, we have decided to share a few best working methods to unroot a rooted Android smartphone in 2020. So, let’s check out how to unroot any Android device in 2020.
1. Using SuperSU App
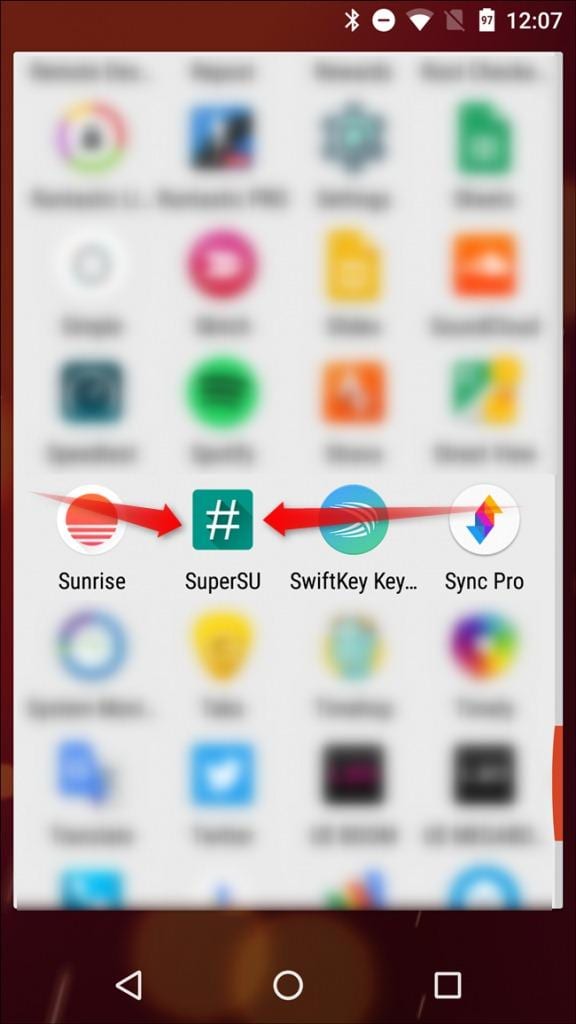
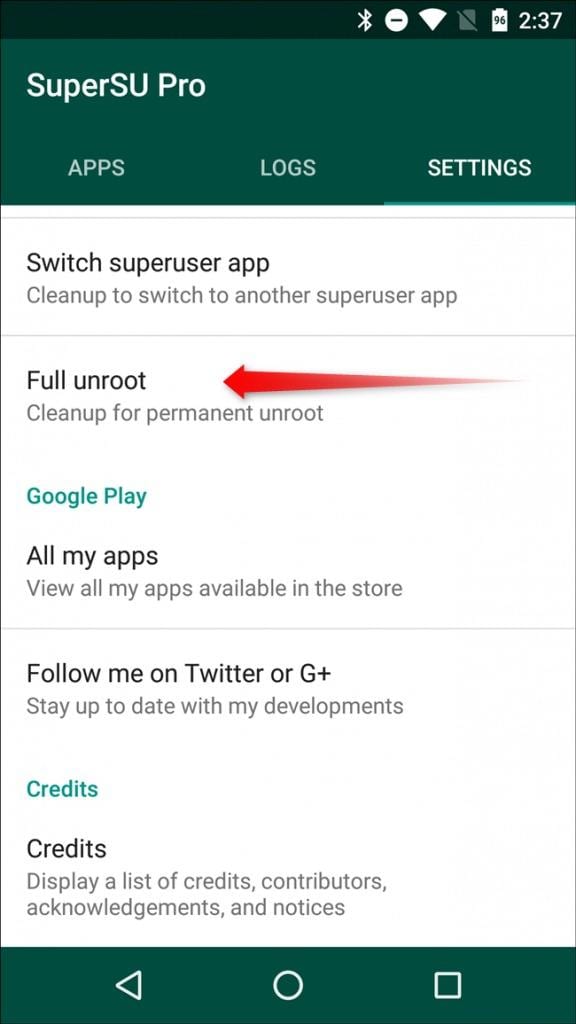
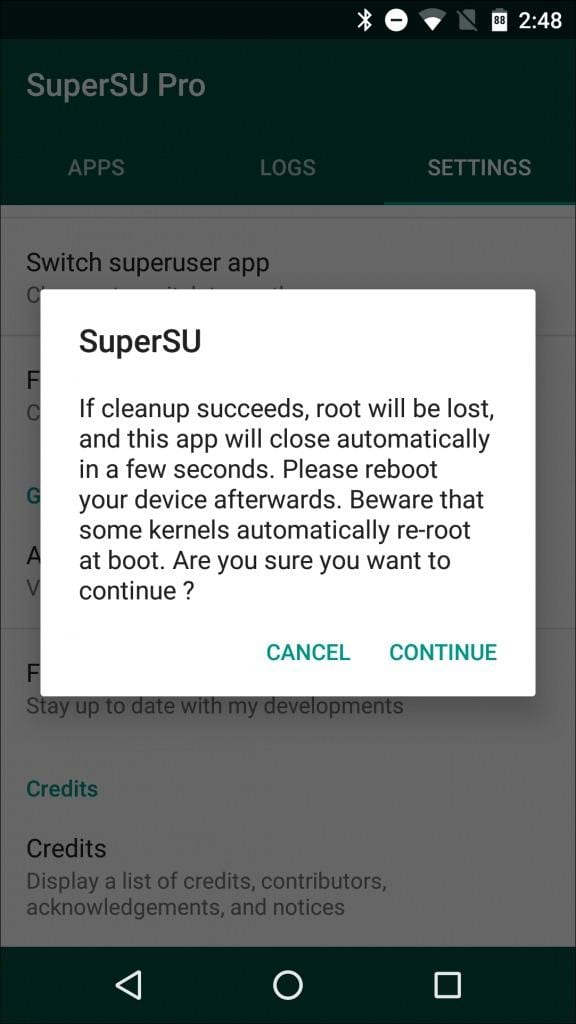
SuperSU allows for advanced management of Superuser access rights for all the apps on your device that needs root. This app also includes the option of “Full Unroot” which we will be using. Step 1. First of all, Download and install the App SuperSU and launch it. Step 2. Now you need to go to setting tab in the SuperSU app and scroll down and you can see the “Cleanup” section now where you need to tap on the “Full Unroot” option. Step 3. On the very next step, you can see a Confirmation dialog box. You need to tap on “Continue” That’s it! you have successfully unrooted your device, and after that, you just need to restart your device in order to finish the process.
2. Using KingoRoot
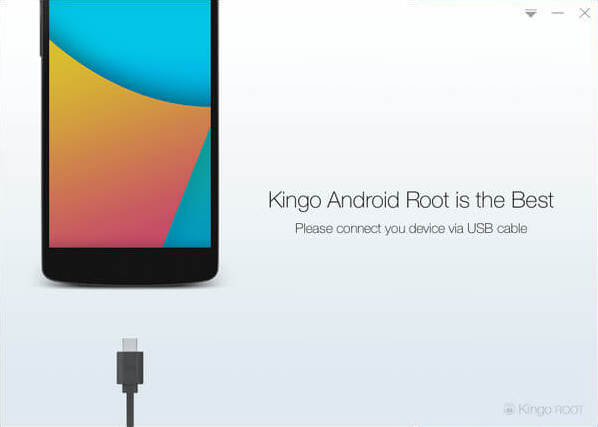
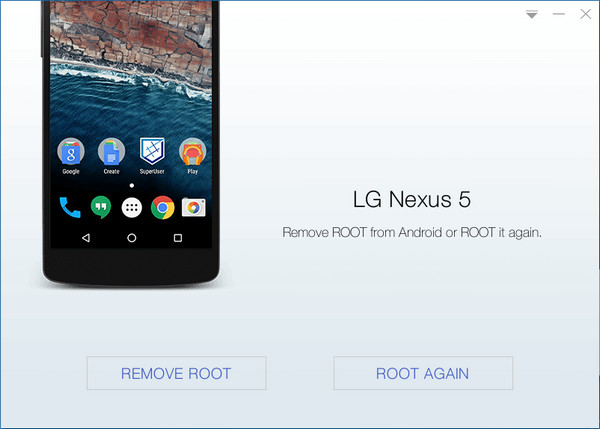
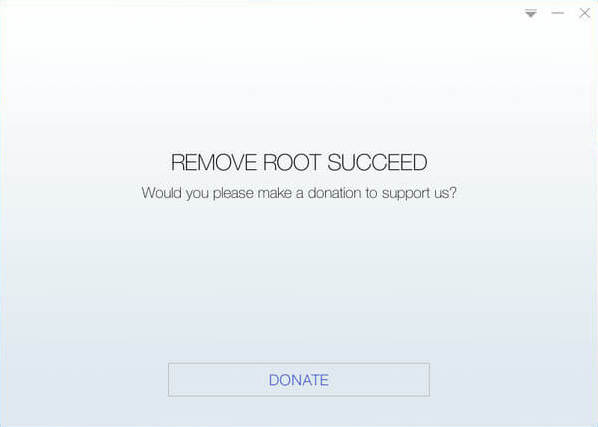
KingoRoot can also be used to remove the root access. Follow some of the simple steps given below to unroot an Android device via the KingoRoot app. Step 1. First of all, Download and install the KingoRoot Android (PC version) and launch it on your computer. Now connect your device via USB cable. (USB Debugging mode must be enabled on your Android device) Step 2. Now KingoRoot will detect your Android device, and you will see two options “Remove Root” and “Root Again” Step 3. Now you need to select the option “Remove Root”, now you have to wait for few minutes until KingoRoot Unroot your device. Step 4. Once finished, you will get the option “Remove Root Succeed” That’s it! You are done, Kingoroot had successfully unrooted your android device.
3. Using ES File Explorer
Well, ES File Explorer is one of the best file managers to have on your Android smartphone. You can also use this awesome file manager app to unroot your rooted Android smartphone. Below we are going to give you some simple steps which you can follow to unroot your Android device easily using Es File Explorer Step 1. First of all, you need to download and install ES File Explorer app from Google Play Store on your rooted device. Step 2. Now launch the app and then tap on the menu button Step 3. Under the Menu button, you need to scroll down to ‘Tools’ and then turn on ‘Root Explorer’ Step 4. This will ask you to grant the root privileges. Simply grant permission and then on the main screen of the app you need to find your device’s root folder. You can find this as ‘/’ in explorer. Step 5. From the root folder, you need to find and locate to ‘System’ | ‘Bin’ Step 6. Now there you need to find the ‘busybox’ and ‘su’files and delete them. Step 7. Now you need to navigate back to ‘/’ and open the ‘app’ folder. From there, delete superuser.apk That’s it, you are done! Now you just need to restart your Android device and your device should reboot unrooted.
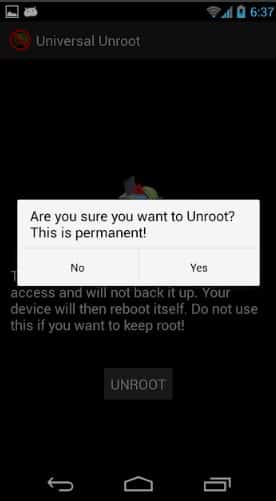
4. Using Universal Unroot
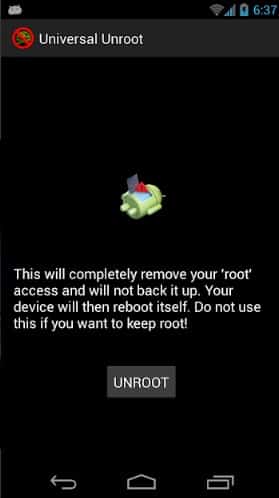
Well, Universal Unroot is a free Android app available on the Google Play Store that allows users to unroot any Android smartphone. However, it can only unroot smartphones running on Android version 4.2.2 and below. Follow, some of the simple steps given below to unroot Android device by using Universal Unroot. Step 1. First of all, visit this link to download & install Universal Unroot on your Android smartphone. Step 2. Once installed, open the app from the App Drawer. Step 3. Now during the startup, the app will check for the current root status. Once checked, it will provide you an unroot option. Simply tap on the ‘Unroot’ button to unroot your device. Step 4. In the next step, you need to tap on ‘Yes’ to continue. That’s it, you are done! This is how you can use Universal Unroot to unroot your Android smartphone. So these are the four apps to Unroot your Android device in 2020. I hope this article helped you! Share it with your friends also.
Δ