DirectX Diagnostic Tool
The DirectX Diagnostic tool on Windows 11 shows much information about the software and hardware of your computer. You can use it to check the operating system, system model, BIOS version, Processor, Memory, Graphics card details, and more. If we leave behind the DirectX diagnostic tool, DirectX itself is a series of application programming interfaces (API) that allows your games to talk to the video cards. It’s one key element that optimizes your gaming and multimedia performance. So, if you are a Windows 11 user, it becomes mandatory to check and install the latest version of DirectX. The latest version of DirectX will eliminate various problems while running graphic-intensive apps & games. However, it’s important to know the installed version before updating the DirectX. Also read: Windows 11 Free Download Full Version
3 Best Ways to Check DirectX Version on Windows 11
Hence, this guide will share a few best ways to check the DirectX version on Windows 11. This has no link with DirectX version update or installation; the methods will only help you find the installed version of DirectX on your Windows 11 computer. Let’s get started.
1) Check the DirectX version on Windows 11 via RUN
This method will use the RUN dialog box to check the DirectX version. Follow some of the simple steps we have shared below.
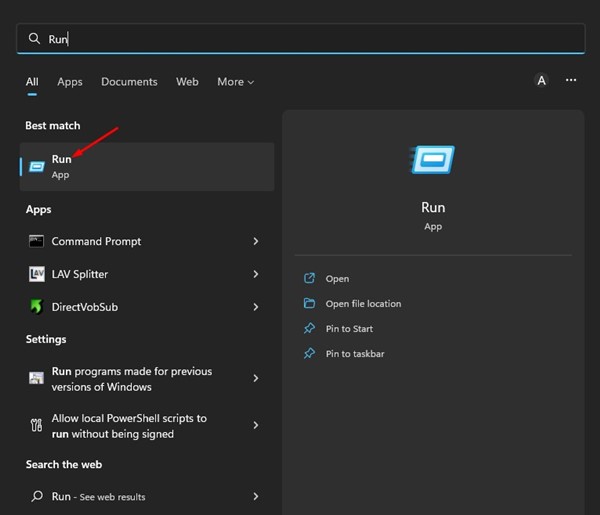
Click on the Windows 11 Search and type in RUN. Next, open the RUN dialog box from the list of options.
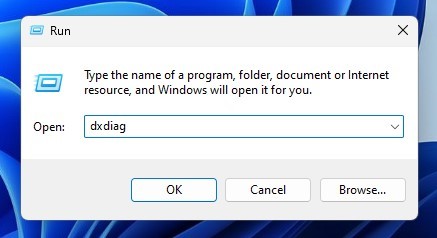
On the RUN dialog box, type dxdiag and hit the Enter button.
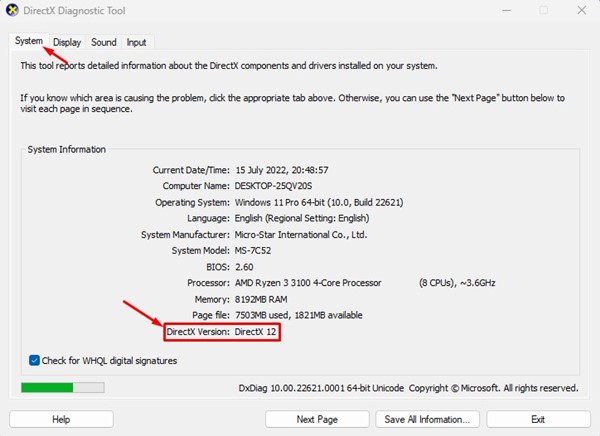
This will open the DirectX Diagnostic Tool on your Windows 11. Switch to the System tab, and you will find the DirectX version at the bottom of the window.
That’s it! This is the easiest way to check the DirectX version on Windows 11.
2) Check DirectX Version via Windows 11 Search
If you want an easier and more direct method, you must utilize the Windows 11 search. To check the DirectX version via Windows 11 search, click the Search button on the taskbar.
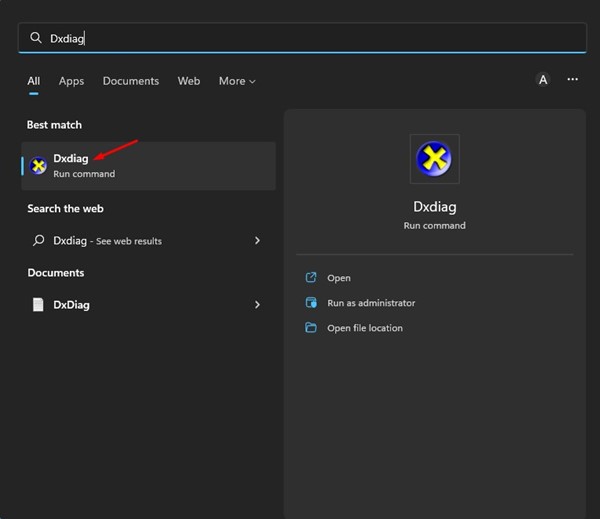
Next, on the Windows search, type in dxdiag. Now open the Dxdiag (Run command) from the list. This will open the DirectX Diagnostic tool on your Windows 11 computer.
Now you need to switch to the System tab and check the DirectX version at the bottom. That’s it! This is how you can check the DirectX version via Windows 11 search.
3) Check the DirectX version via CMD/Powershell
You can also use the command prompt and Powershell utility to check the DirectX version. You need to follow some of the simple steps we have shared below.
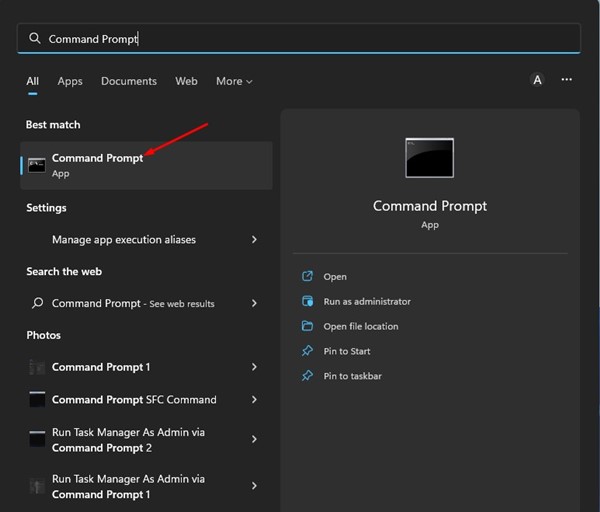
First, click on the Windows 11 Search and type in Command Prompt or Powershell. Next, open the matching utility from the search results.
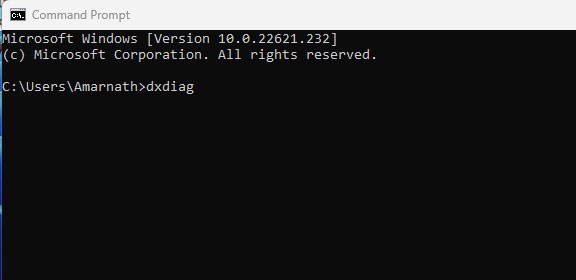
On the CMD/Powershell, enter dxdiag and hit the Enter button.
This will open the DirectX diagnostic tool. Switch to the System tab and check the DirectX version at the bottom. That’s it! This is how you can check the DirectX version on Windows 11 via Command Prompt or PowerShell. After finding the DirectX version, you may want to update or install the latest version of DirectX on your system. To update the DirectX version, check our guide – Download & Install the latest version of DirectX on Windows 11. So, these are some of the best and easy ways to check the DirectX version in Windows 11. Every method relies on the DirectX diagnostic tool to check the DirectX version. If you know any other way to check the same, let us know in the comments.
Δ